Category: Beaded Bracelets

  • Flower with Leaves Beaded Bracelet

    Beaded Bracelet Flower with Leaves
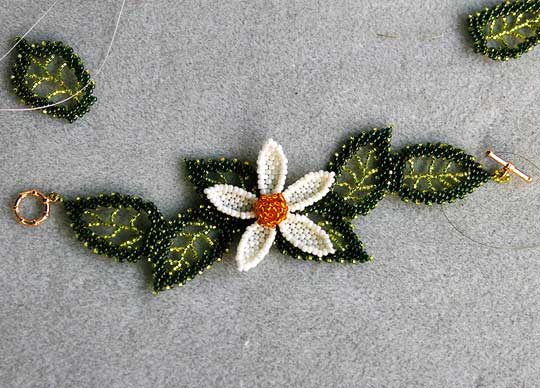
    After about three weeks, my bracelet is completed.

    I made this bracelet from the picture posted in the “Your Work” section of Bead & Button Magazine, Issue 102 from April 2011. The piece is created by Michelle Albertella from Encinitas, CA.

    My friend Alicia and I were very impressed with this gorgeous design. We drooled over the picture for about a day and decided to make it.

    There were no instructions in the magazine, but the article mentioned that the leaves were made using St.Petersburg chain and the petals are brick stitch. (I later found that Michelle sells it here as a pattern.)

    First order of business was to make 8 leaves.

    I’ve made a fair share of Russian Leaves in my life, but those are done in Peyote stitch resulting in a more solid leaf with a thicker outer edge. The St.Petersburg chain leaves used in this design are lacier and more delicate. We really liked that look.

    I have some experience with St.Petersburg chain, too. In the introduction to the first St.Petersburg chain project I’ve attempted, the writer claimed that by the time I was through, I’d know the stitch backwards and forwards. The project delivered. I did learn the stitch. But I think it also shaved a few months off my life expectancy in the process…

    We looked up instructions for St.Petersburg chain leaves and found some from About.com. Very helpful, thank you very much. Takes a little bit of getting used to, following instructions broken into 16 tiny pages — they do want to maximize their annoying ads — but it’s there and it’s free.

    It took me the better part of the evening to complete the first leaf. The beginning of the instructions threw me for a loop. It positions the stop bead in the center of the thread and uses 2 needles, since  the leaf is stitched from the top down. So the first steps is to make the little leaf tip.

    From there on, you do straight-forward St.Petersburg chain for a few rows to make one side of the leaf with one needle, then go back to the top to make the other side with the second needle. Then connect the sides by stitching a 2 row base using a pretty peculiar method, which I think could be improved on, but it worked out.

    My problem with this kind of design is that I’m a very tight beader, but there is no way to make the beadwork tight here. It kind of flops and twists around in your hands and makes you bonkers. I really had to work on staying calm. However, once the sides are connected, the leaf sort of firms up. So that was a relief.

    Sadly, my friend Alicia couldn’t make it happen. She gave up after the first leaf, which in fairness came out kind of cockeyed. But she made a killer braided bracelet instead!

    I went ahead alone and struggled through. But really from the first leave on, it was easy.

    Once you have made the necessary number of leaves (eight for an average wrist), they are sewn together, base to side, as shown in picture: four facing left and four facing right. This means that the two leaves in the center of the bracelet are sewn base to base. And this junction is where you attach your flower.

    The flower petals were done with brick stitch and are very easy. Ana Garcia, my favorite bead teacher, taught us the technique to make them longer or shorter, so that was no problem. The petals are sewn together at one tip to form a flower.

    The center of the flower was done from the middle out, starting with three 11° beads, and peyote stitching the beads in a circle with one increase. When you have a big enough circumference, sew through the top beads in the last row and pull. It makes a ball with an open base that is attached to the center of the flower.

    The bracelet looks so cute. It’s very girlie. I just adore it! And it’s actually easy to wear. Initially, I thought it would catch on everything, but it’s behaving.

    My tip would be not to make it too long. It should just fit; otherwise, it spins around your wrist and inevitably drops the flower, which is heavier, to the pulse point on the wrist and puts the clasp, which is lighter, out for display.

    I myself had to take two leaves off to shorten the bracelet. Those are the ones to the side of the bracelet in the picture. Maybe I’ll use them for a necklace…. (Alicia would say I’m out of my mind.)

    I completed the bracelet about 2 weeks ago, and just now, looking at the picture in the magazine that I shamelessly copied, I realized something disturbing. I’ve studied the picture in detail, I even counted the beads. But what I failed to notice is that the original flower had six petals. Poor mine has only five.

    We look, but do we really see?
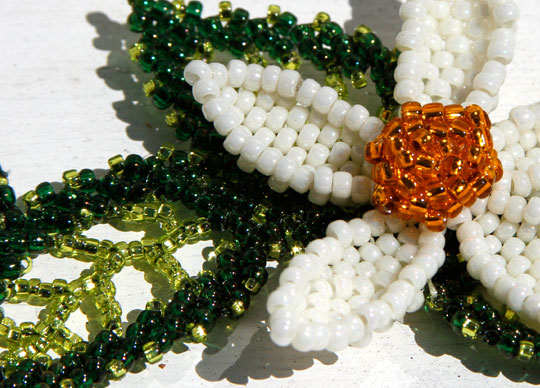
    Flower with Leaves - Bead Bracelet - Detail
    Maybe it’s a five-petal white Lilac…
  • Native American Theme Bracelet

    Native American Theme Bracelet

    Native American Beaded Bracelet
    Peyote Cuff

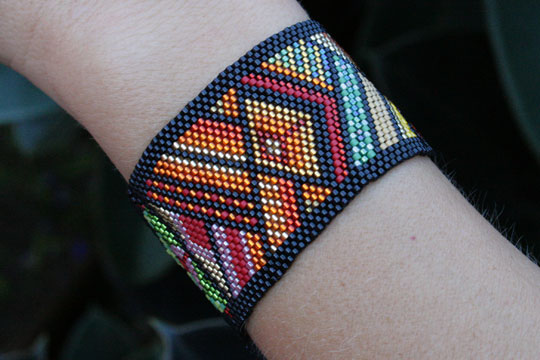
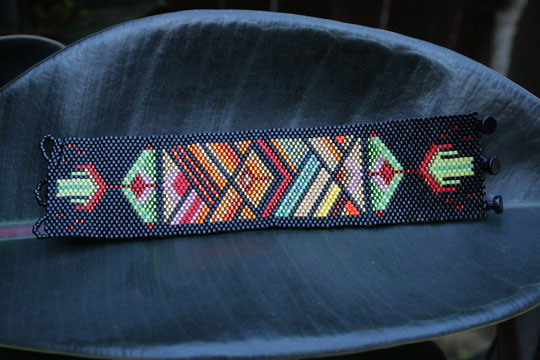
    My first experiment with a peyote counted pattern. I found the pattern for this Native American theme beaded bracelet in Bead and Button magazine. The beading was a little tough, but the result is stunning. The bracelet button closure was all of my own doing, as I recall, and it did not work. My ingenious design made the beaded loops too tight, so I could hardly push the buttons through. I was too afraid to loose the bracelet. It was the best and the most elaborate thing I had ever beaded at that point! Unbuttoning was even worse. In about a week of wear, the cuff itself gave way. So I had to repair a few rows of peyote and the button loops. But oops, once again, I made the beaded loops too tight!

    Native American Beaded Bracelet
    Beaded Peyote Cuff

    I love it, but I don’t wear it. The bracelet serves as a reminder that there’s always room for improvement. It was a major wow-factor, though, when I was wearing it….

  • First Beading Class Project

    First Beading Class Project

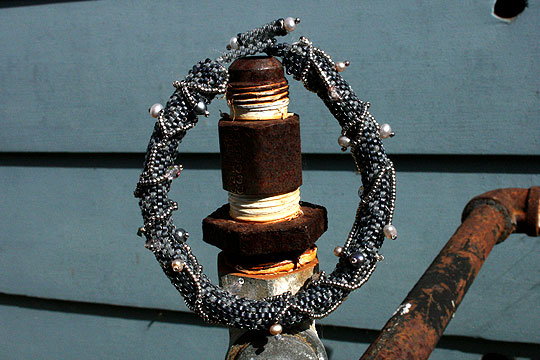
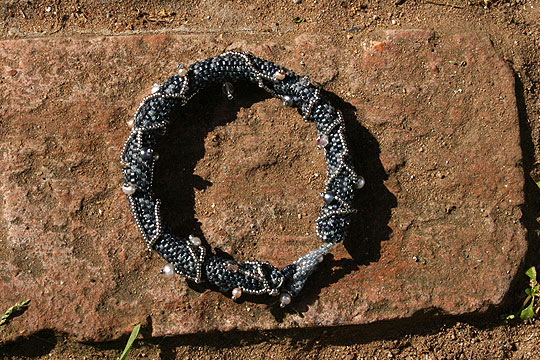
    Dark Blue With Vine

    Project from my first beading class with Ana Garcia at Shepherdess in San Diego, CA.

    Dark Blue With Vine

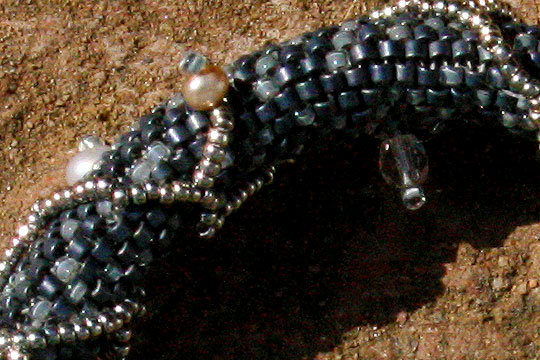
    Dark Blue With Vine Detail

  • First Efforts

    First Efforts

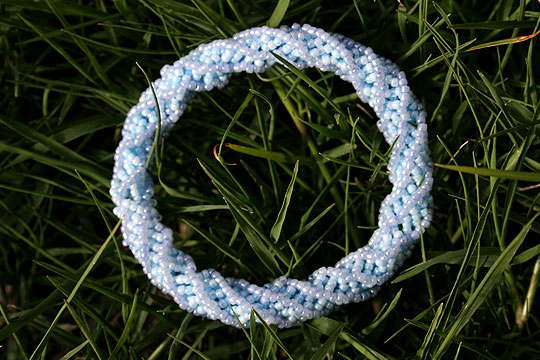
    Baby Blue Bracelet

    Shower Gift: Baby Blue Bracelet

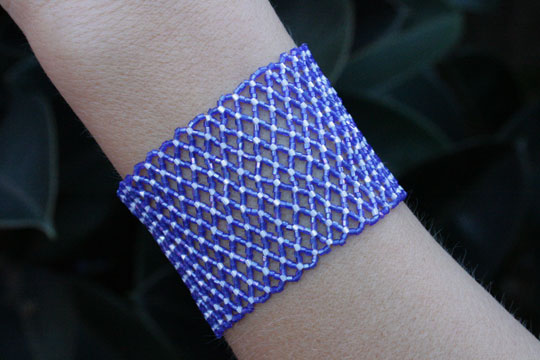
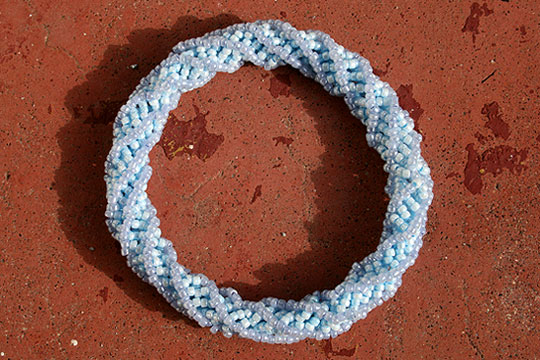
    The first kind of bead work I did was a vast number of African Helix stitch bracelets. The instructions came from a book I took out of the local library, and the African Helix stitch seemed the most approachable out of that book, which was not beginner level. Everything else seemed too complicated. Still, having no experience in beading or even stringing at all, it took me the better part of the day to figure it out. It also took my husband helping me, mostly where I tried to skim over the instructions, omit steps that I judged unnecessary. Follow the instructions to a T! Even when they don’t make sense. Chances are there is nothing wrong with them. Read them like you read your Bible. Really think about them.

    After starting and cutting up first maybe 20 samples, with my nerves in shreds and my husband fuming and unable to stand me anymore, I sort of figured it out. The pattern consists of three repeats of two color beads. Now it seems very easy, but then, the number of mistakes and the variety of mistakes I made were astonishing. But the real disaster came when the tread started to run out. I tried not to think what was going to happen when it ended, with my bracelet still a mere 3 inches. I knew nobody who could help. The book was vague. And I knew nobody with a three inch wrist.

    You-tube came to rescue. They actually had a video of this nice lady tackling my problem, calm and undisturbed, like she ate rats for breakfast. She explained to me that threads end, happens to everybody. Here are the steps you take. And there was a set of pretty simple instructions.

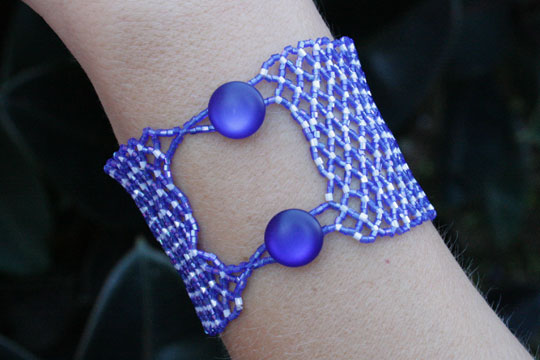
    Anyway, after two days of work, I realized I had to end the bracelet. With a clasp. How, nobody knows. Another problem – no clasp. No nothing. What do I do? I joined the raw edges of the bracelet together, sewing through the accent beads back and forth a few times (so you can really see where it happened) and impatiently rolled it on my wrist. It was too tight, I almost scraped the knuckles to blood. Measure your anatomical features and measure your work accordingly.

    I was so excited, that I showed everybody my new bracelet, and actually got a few orders for more. However, nobody seemed very willing to pay me for almost 2 days full labor. Even at minimum wage. And it’s the law in California, otherwise Arnold gets upset and breaks something. I would be comfortable working for the kind of money people were willing to pay me if I lived, say, in Tanzania or a far region of Uzbekistan, where people still barter for the most part. But not in Southern California. Still, on the up side, somebody was considering paying me. Good news. Maybe I should move to Tanzania.

    That blue bracelet I ended up giving away at a baby shower, to my friend Victor’s pregnant girlfriend. She was expecting her first baby boy. Victor told me she did not take it off for three days. It means she liked it. I was so touched! The baby is about 3 weeks old now.

    Baby Blue Bracelet 2